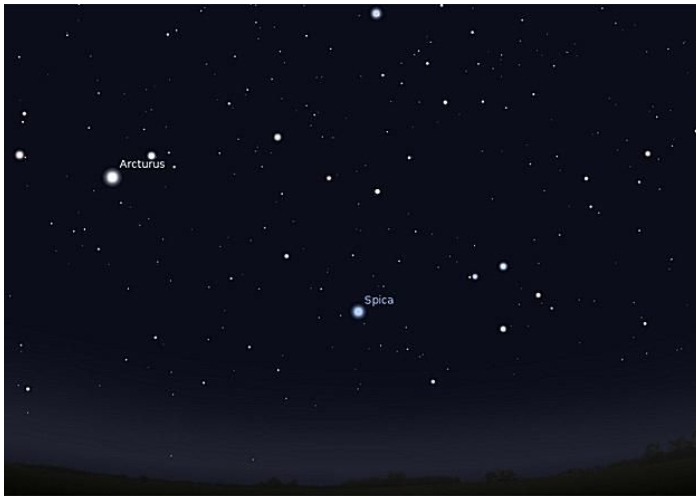
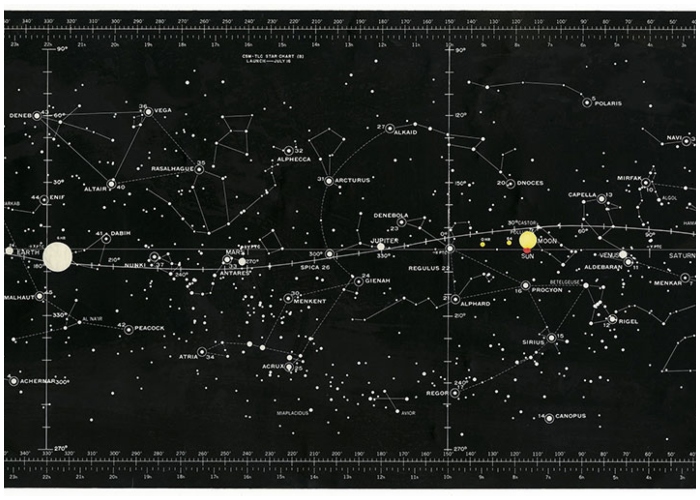
Creating your own star chart is not only a fun educational project but also a beautiful way to connect with the cosmos. Whether you’re an amateur astronomer or simply enjoy gazing at the night sky, this guide will help you make a detailed and accurate star chart tailored to your view from Earth.
Materials You Will Need
- A compass
- A ruler
- A pencil
- A large sheet of paper (the size may vary based on your preference, but a larger sheet allows more detailed mapping)
- Access to star coordinates (these can be found online or in astronomical databases)
Detailed Instructions to Craft Your Star Chart
1. Drawing the Main Circle
Begin by placing your sheet of paper on a flat surface. Using your compass, draw a large circle with a diameter of about one foot. This size is ideal as it provides ample space for detailing without becoming too cumbersome for regular use. If space is an issue, adjust the diameter as needed, but remember that smaller charts might crowd detailed constellations.

2. Creating Nested Circles Within the Main Circle
Inside your main circle, you will draw several smaller concentric circles. Start with the largest inner circle having an 11-inch radius, and decrease each subsequent circle by one inch until the smallest circle, which should have a 1-inch radius. These circles are crucial for accurately plotting stars based on their declination, as each circle represents a different degree of celestial latitude.
3. Adding Radii Lines for Detailed Segmentation
With your main and nested circles drawn, it’s time to add radii lines:
- Draw a straight line across the diameter of the circle, effectively cutting it in half.
- Add two additional lines to divide each half again, resulting in four equal quarters.
- From the center, extend six more lines to the outer edge of the main circle to create 12 equal segments.
- Insert additional lines from the center to the edge of the 2-inch circle, placing them between the existing lines to form 12 additional segments. This step will look like you’re dividing each quarter into three smaller segments.
4. Labeling Coordinates on Your Star Chart
Proper labeling is essential for a functional star chart:
- Start at the outer edge of the largest circle, labeling the first radial line as “0h.”
- Moving clockwise, label each subsequent line with increasing hours up to “23h.” These labels correspond to the celestial coordinate system of right ascension, used to pinpoint the location of stars.
- Additionally, label your concentric circles starting from the center with “90” (representing the celestial pole) and decreasing by increments of 10 towards the outer circle. These numbers represent degrees of declination.

5. Plotting the Constellations
Now comes the exciting part—mapping the stars:
- Using your online resources, locate each star by its right ascension and declination. The declination will determine which concentric circle you place the star in, and the right ascension corresponds to the radial lines.
- Begin with familiar constellations, as they are easier to plot and provide a framework for filling in more complex or less known constellations.
- Continuously refer to your sources to place each star as accurately as possible, enhancing the chart’s utility and accuracy.
6. Testing Your Star Chart Under the Stars
Once your chart is complete, the real test is to use it under the stars:
- Take your chart outside on a clear night.
- Try to match the visible stars and constellations with those on your chart. This practice not only verifies the accuracy of your chart but also enriches your personal connection with the night sky.
Additional Tips for a Successful Star Chart
- Precision Matters: Ensure that your measurements and labels are accurate. Inaccuracies can lead to confusion when trying to identify constellations and stars.
- High-Quality Materials: Invest in a good quality compass and sharp pencils to make precise marks and clear lines.
- Cross-Reference Sources: Different astronomical sources might offer slightly different coordinates. Cross-referencing ensures your chart’s accuracy.
- Personalization: Customize your star chart by highlighting your favorite constellations, adding artistic touches, or annotating with interesting celestial facts.
Creating your star chart is a profound way to engage with the universe from your backyard. It’s a project that combines artistic creativity with scientific inquiry, resulting in a personalized map of the night sky that you can treasure and use for years to come.